
September 29, 2026
Print ready artwork is a file that can be used by a commercial printer as submitted, with no fixes needed on their end. Before you send anything off, check five things: file type, bleed, resolution, colour mode and fonts. If all five pass, your file is likely print ready. Run through the full checklist below to be sure.
TL;DR:
- Files must be exported as PDF/X-1a or PDF/X-4 with images at 300 dpi at full size and embedded fonts to ensure print readiness.
- Include 2 to 5 millimeters of bleed and keep all critical text and logos at least 3 to 5 millimeters inside the trim line to prevent trimming issues.
- Convert all images and graphics to CMYK and verify that no RGB or spot colors remain, especially in logos, before final export.
- Packaging native files with fonts and linked assets properly is necessary if a printer requests them, and outlining fonts is an option when edits are no longer needed.
- Use preflight tools in Acrobat to check for missing links, spot colors, or unflattened transparency, reducing the risk of costly reprints.
Table of Contents
- File formats printers accept and when to supply native files
- Image resolution and scaling: getting DPI right
- Setting bleed, safe area and printer’s marks correctly
- Getting colour right: CMYK, profiles and rich black
- Handling fonts, linked images and transparency
- Export settings for a press-ready PDF and pitfalls to avoid
- Your final preflight checklist before sending files
- Why files fail and what printers see on their end
- Quick rules of thumb from years of file checks
- Getting your artwork print ready with PromoShop
- Where to check the official specs yourself
- Sources
- FAQ
File formats printers accept and when to supply native files
Most printers prefer a press-optimised PDF, and PDF/X is the safest choice. PDF/X locks in fonts, colours and image data in a standard way, so there is less room for something to shift between your screen and the press. Some jobs, especially custom or complex layouts, call for native files instead. If a printer asks for InDesign or Illustrator files, package them properly so every linked asset travels with the document.
- Choose PDF/X-1a or PDF/X-4 unless the printer names a different standard.
- Package native files with fonts and links included, not just the layout file.
- Outline fonts if you cannot embed them, but keep an editable source file for future edits.
Outlining turns text into shapes, which stops font substitution but removes the ability to edit copy later. Keep a working file with live text stored safely, in case revisions come up.
Image resolution and scaling: getting DPI right
Set images at 300 dpi at 100% size for CMYK print work. Fine line art or halftone patterns sometimes need up to 600 dpi to hold their detail. Check effective resolution in Photoshop or InDesign rather than guessing, since resizing a placed image on the page changes its effective dpi even if the original file was correct.
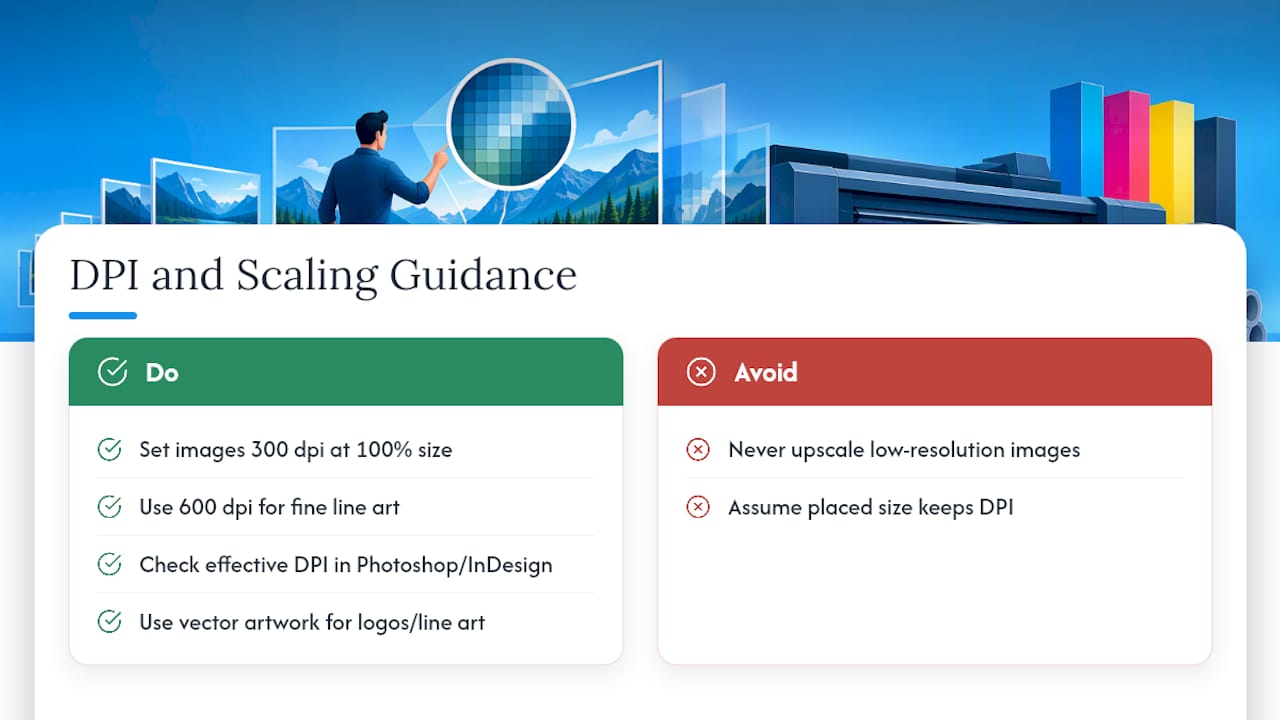
Most publisher and print specs call for files at common print resolution levels, with some full-page ad placements requesting higher resolution for detail. This range appears consistently across advertising specifications from Australian publishers, so it is worth treating as a baseline rather than a guess.
Never upscale a low-resolution image to hit a target dpi, it will only look pixelated at a larger size. Use vector artwork for logos and line art wherever you can, since vectors scale cleanly at any size.
Setting bleed, safe area and printer’s marks correctly
Bleed and safe area protect your design from small shifts during trimming.
-
Extend background colours and images 2 to 5 millimetres past the trim edge for bleed.
-
Keep essential text and logos at least 3 to 5 millimetres inside the trim line as a safe area.
-
Add crop marks and set bleed offsets in InDesign or Illustrator using the document’s marks and bleed settings.
-
Include slug information and colour bars only when the printer specifically asks for them.
-
Skip printer’s marks entirely for web-to-print uploads, most online ordering systems expect a clean, mark-free file.
Adobe’s InDesign guidance covers exactly how to configure these settings, including the “Use Document Bleed Settings” option that carries your bleed through to export.
Getting colour right: CMYK, profiles and rich black
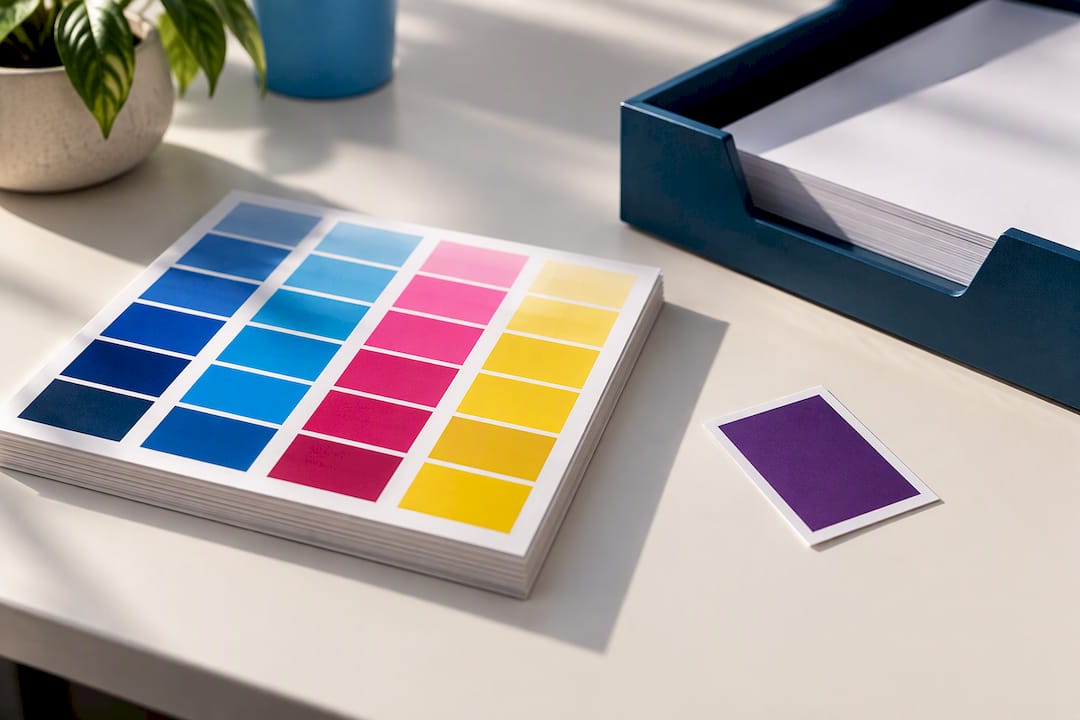
Work in CMYK from the start, or convert before you export, since RGB files can shift colour unexpectedly once they hit the press. Embed or tag the correct colour profile on export so the printer’s equipment reads your file the way you intended.
- Convert any stray RGB elements to CMYK before final export.
- Check your file for unintended spot colours, especially logos pasted in from other documents.
- Set small text to 100% K rather than a mixed black build, it stays sharp and avoids registration issues.
- Use a rich black build for large solid areas only when the printer approves it for that stock.
Different jobs need different black handling. HP’s guide to RGB versus CMYK explains why small text and large solids behave differently under ink coverage.
Pro Tip: Always check logos for hidden spot colours before you export, a quick look at the Swatches panel saves a reprint.
Handling fonts, linked images and transparency
Fonts and linked files are common points of failure, so check both before you export. Embed fonts directly in your PDF, or convert them to outlines if the printer’s software cannot read them.
- Embed fonts in the PDF, or outline them and keep an editable source file for later changes.
- Package or embed every linked image, then verify the links panel shows no missing or modified files.
- Flatten transparencies if the printer’s workflow requires it, and confirm this with them before you export.
The University of Melbourne’s print room guidance on embedding fonts is a useful reference here: embedding prevents substitution, while outlining trades editability for certainty.
Export settings for a press-ready PDF and pitfalls to avoid
Getting the export dialogue right matters as much as the design itself.
- Export to PDF/X-1a or PDF/X-4, matching whatever the printer specifies.
- Include bleed and printer’s marks only if the printer has asked for them.
- Avoid downsampling images below 300 dpi during export, a common setting that quietly wrecks image quality.
- Confirm fonts and colour profiles are embedded before you finalise the file.
- Run Acrobat’s preflight tool to catch stray spot colours, missing links or unflattened transparency.
Adobe Express’s CMYK export tools simplify this for simpler web-to-print jobs, with CMYK defaults and bleed controls built in.
Your final preflight checklist before sending files
Run this checklist before every file leaves your hands.
- Confirm the file name matches what the printer asked for, and the format is correct.
- Check trim size, bleed and safe area against the printer’s exact specifications.
- Verify image resolution, embedded fonts, colour mode and linked assets one more time.
- Spellcheck the copy, proof against the brief and confirm the delivery method with the printer.
| Check | Target |
|---|---|
| Resolution | 300 dpi at 100% size |
| Colour mode | CMYK |
| Bleed | 2 to 5 millimetres |
| Fonts | Embedded or outlined |
Why files fail and what printers see on their end
Most rejected files fail for the same handful of reasons: missing bleed, missing fonts or an RGB file submitted where CMYK was needed.
Printers emphasise that most visible failures are preventable production mismatches, missing bleed creates white slivers, missing fonts changes layout, and RGB conversion changes colour. Formax Printing
This pattern holds across publisher media kit specifications, which routinely demand 300 dpi, CMYK-only files and embedded fonts before they will accept a submission. A short preflight check before export catches nearly all of these issues before they cost you a reprint.
Quick rules of thumb from years of file checks
Accept a file as final only once bleed is visibly present, fonts show as embedded and effective resolution reads at least 300 dpi in your layout software. If any of those three fail, ask for a new export rather than guessing. When a job matters and time is short, send it to PromoShop for a free artwork check before you commit to print.
— SEO
Getting your artwork print ready with PromoShop
Preparing print-ready artwork takes time most marketing teams do not have to spare, and a wrong export can cost you a reprint and a missed deadline. A free artwork checking service can help review your file before it goes to press, and express options may be available to get urgent jobs moving faster.
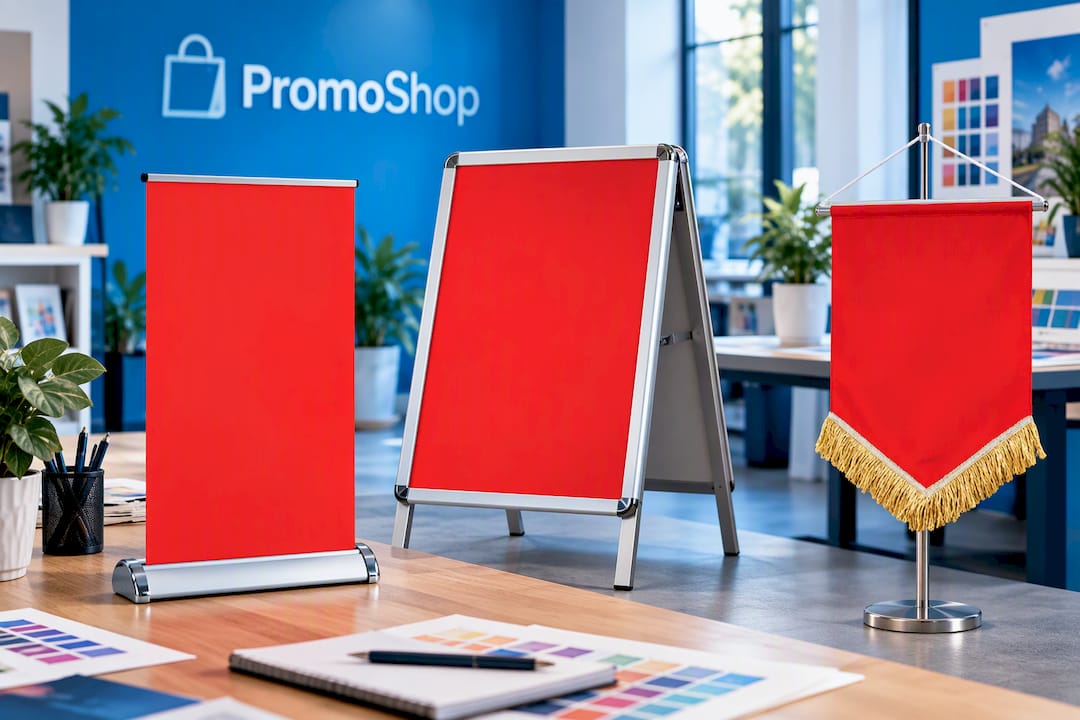
Once your artwork passes, you can put it straight onto the products your event needs.
- Table Top Pull Up Banners suit trade shows and small retail counters.
- Snap Lock A-Frames work well for footpath signage and event entries.
- Pennants add colour to sports days, fairs and outdoor promotions.
Send your file through and request a quote, or ask for Express Service if your deadline is close. Get started at PromoShop and let the team check your artwork before it goes to print.
Where to check the official specs yourself
For print settings straight from the source, Adobe’s printer’s marks guidance covers bleed and marks in detail. Publisher specifications, like those in advertising schedules, show real-world dpi and bleed requirements. For artwork that includes QR codes, this guide on QR code DPI explains the resolution rules that keep codes scannable once printed.
Sources
- Set printer’s marks in InDesign | Adobe HelpX
- Media Kit 2026 (example publisher specifications)
- How to embed custom fonts into your PDF (University of Melbourne print room)
- Advertising schedule and print ready artwork specs (GSV)
FAQ
What does “print-ready artwork” mean?
Print-ready artwork is a file a printer can use exactly as submitted, with correct resolution, bleed, colour mode and fonts already in place. It needs no adjustment before it goes to press.
How do I make artwork print ready?
Export your file as a PDF/X with 300 dpi images, CMYK colour, 2 to 5 millimetre bleed and embedded fonts, following the PDF/X export standard your printer specifies. Run a preflight check in Acrobat before you send it to catch missing links or stray spot colours.
What is the best place to get artwork printed?
The right choice depends on what you are printing, from books to signage to branded merchandise. For promotional products like banners, A-frames and pennants, PromoShop offers free artwork checks and express turnaround alongside its product range.
How can I make an image print ready?
Set the image to 300 dpi at 100% of its final printed size, and convert it to CMYK before export. Avoid upscaling a low-resolution image, since this causes pixelation rather than fixing the resolution problem.