

September 17, 2026
For most corporate polos, left-chest embroidery on a cotton-blend or performance-poly shirt gives you the sharpest, longest-lasting result. Screen printing and heat transfer suit bigger flat logos and shorter runs. Before you commit to numbers, send your artwork for a free check and get a quote from a reputable supplier — it will flag any resolution or colour issues before they cost you a reprint. The real trade-off to weigh is always cost against durability against how close the finish needs to look to your actual logo file.
TL;DR:
- Embroidery on cotton-blend shirts provides a premium, durable finish suitable for uniforms, but loses fine detail in small text or gradients.
- Screen printing offers the best value for large, flat-colour logos, but is less economical for small runs under about 50 shirts due to setup costs.
- Performance polyester shirts are ideal for outdoor teams, as they wick moisture and support sublimation, which produces full-color, photo-quality designs on light fabrics.
- Logo size is typically limited to around 4.5 inches by 4.5 inches on the left chest for clarity and balance, with placement on the right chest, back, or sleeve for secondary or promotional use.
- The total cost usually includes garment price, decoration fees, setup charges, packaging, and freight, so getting a comprehensive quote prevents unexpected expenses.
Table of Contents
- What are the main polo shirt branding methods?
- Which fabric works best with which decoration method?
- Where should a logo go on a polo shirt, and how big should it be?
- How much does polo shirt branding cost, and how long does it take?
- Production and design tips that reduce rework
- Which polo and placement suits your team?
- Packaging and labelling options for branded polo shirts
- What does polo shirt branding actually cost in total?
- How long does the process take from artwork to delivery?
- Publisher perspective: the mistakes that cost buyers money
- Get your branded polos moving with Promoshop
- Where to check technical specs and decoration guidance
- Sources
- FAQ
What are the main polo shirt branding methods?
Four decoration methods cover almost every corporate and promotional order: embroidery, screen printing, digital sublimation, and heat transfer (including direct-to-film, or DTF).
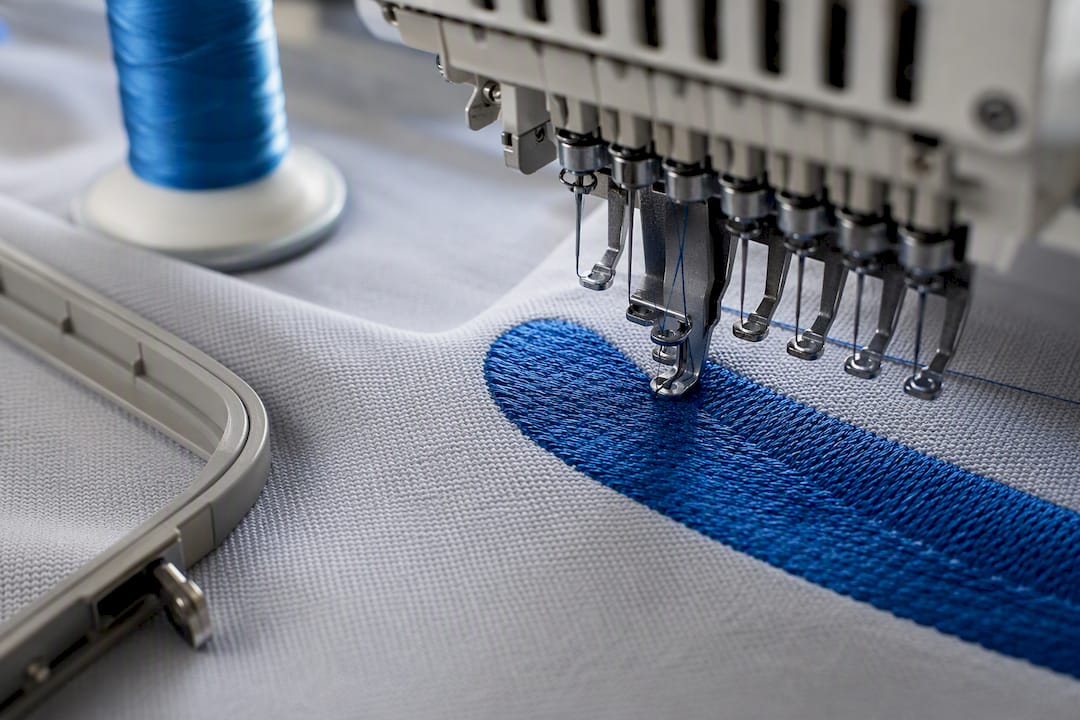
Embroidery stitches your logo directly into the fabric, giving a raised, textured finish that reads as premium and survives hundreds of wash cycles without cracking or fading. It’s the standard for uniforms, front-of-house staff, and anything you expect to have on someone’s back for a couple of years. The trade-off is detail: very fine text or fiddly gradients can lose clarity once they’re rendered in thread.
Screen printing pushes ink through a stencil, one colour per screen, which makes it the most economical option once you’re printing large flat-colour logos across bigger quantities. Below a certain volume, the setup cost per screen eats into the savings, so it’s a poor fit for a 15 shirt order.
Digital sublimation dyes the artwork directly into polyester fibres, so it never cracks or peels. It reproduces full-colour, photographic artwork brilliantly, but only on polyester and only on white or light-coloured grounds, since the dye can’t overpower a darker base fabric.
Heat transfer and DTF print the design onto film first, then press it onto the garment. Both suit small runs and complex, multi-colour artwork where screen printing’s setup costs don’t stack up.
- Embroidery: best for logos, long-term uniforms, premium feel
- Screen printing: best for large flat artwork, bigger quantities
- Sublimation: best for full-colour, photo-style designs on light polyester
- Heat transfer/DTF: best for short runs, detailed multi-colour artwork
Which fabric works best with which decoration method?
The garment underneath your logo matters almost as much as the decoration method itself. Cotton and cotton-blend polos have a natural, breathable feel that most people associate with quality corporate wear, and they take embroidery and screen printing cleanly. They’re the safe default for office and reception staff.
Performance polyester and micro-textured knits behave differently. They wick moisture, which makes them the obvious pick for anyone working outdoors or on their feet all day, and they’re the only realistic base for sublimation printing since the dye bonds to polyester fibres, not cotton.
There’s a less obvious advantage too: micro-textured polyester knits reduce visible registration misalignment in heat transfer printing compared with smooth interlock polyester, and they photograph better under studio lighting because the texture cuts down glare. That’s a genuine consideration if the shirts are going into your own marketing photos or an online store.
- Reception and office staff: cotton-blend, embroidered left chest
- Outdoor and trade teams: performance polyester, embroidered or heat-transferred
- Event merchandise or giveaways: lighter cotton or polyester blend, screen printed or heat-transferred for full-colour impact
Where should a logo go on a polo shirt, and how big should it be?
Left chest is the default placement for corporate branding, and for good reason: it’s visible in every handshake, every photo, every meeting, without competing with anything else on the shirt.
- Left chest — the standard for corporate identity and staff uniforms
- Right chest — a secondary option, often used alongside a sponsor or partner logo on the left
- Full back — reserved for event merch, team shirts, or when the brand itself is the point of the garment
- Sleeve — small logos or event dates, rarely the primary branding position
Suppliers commonly cap chest logos around 4.5 inches by 4.5 inches as a guideline, not a hard rule, but it’s a sensible ceiling for legibility and balance on a standard chest panel.
For file prep, vector artwork (AI, EPS, PDF) gives embroiderers and printers a clean outline to work from, with no pixelation at any size. If you only have a raster file, make sure it’s high resolution and isolated on a transparent background rather than sitting on a white square. Embroidery digitising also needs a stitch count estimate up front, since a denser logo takes longer to run and costs more per unit.
Pro Tip: Always ask for a physical or digital proof before production starts, especially for embroidery, where thread colours can shift slightly from what you see on screen.
How much does polo shirt branding cost, and how long does it take?
Price comes down to four levers: the decoration method, the base garment cost, the quantity you’re ordering, and any setup fees (screens for printing, digitising for embroidery). Stitch count and colour separations both push cost up incrementally, so a dense multi-colour logo will always cost more than a simple one-colour mark.
Minimum order quantities exist mostly to make setup fees worthwhile. Below the minimum, you’re often paying disproportionately for the setup rather than the garment. Per-unit price drops meaningfully as volume increases, which is why a 100-unit order rarely costs double a 50-unit one.
Lead times vary with order size and method. Small runs with heat transfer or DTF can often turn around faster than a bulk embroidery run that needs digitising first. Express services exist for exactly this reason, often at a cost premium.
- Request a physical or digital proof before committing to bulk production
- Ask what happens if a batch arrives with a defect or colour mismatch
- Confirm whether the price you’re quoted includes setup, or if that’s separate
Production and design tips that reduce rework
Isolated, high-resolution vector artwork prevents the blurring, jagged edges, and stray background pixels that cause embroidery or print rejections. Micro-textured polyester knits are worth the small premium for anything destined for a catalogue shoot or a company photo, since they hide minor imperfections better than flat interlock fabric.
Colour consistency across multiple production runs is where a lot of buyers get caught out: dye lots vary slightly batch to batch, so if you’re reordering months later, ask for a shade reference from the original run.
Pro Tip: Before signing off on a proof, check placement, size, thread or ink colour against your brand guide, and stitch density on embroidery samples, not just the digital mock-up.
Which polo and placement suits your team?
- Office or reception staff — cotton-blend polo, left-chest embroidery. It’s durable, looks polished in every client interaction, and holds up to weekly washing without the logo degrading.
- Outdoor or trade teams — performance polyester, embroidered or heat-transferred. Moisture-wicking fabric matters more here than a premium hand-feel, and embroidery survives sun and sweat better than most prints.
- Event giveaways or short-run merch — lighter polyester blend, screen printed or heat-transferred. You want visual impact and low cost per unit, not two years of wash resistance.
Before signing off, confirm four things: budget per unit, total quantity, how long the shirts need to last, and whether you’ve actually seen and approved a proof. Skipping that last step is the single most common cause of a reorder.
Packaging and labelling options for branded polo shirts
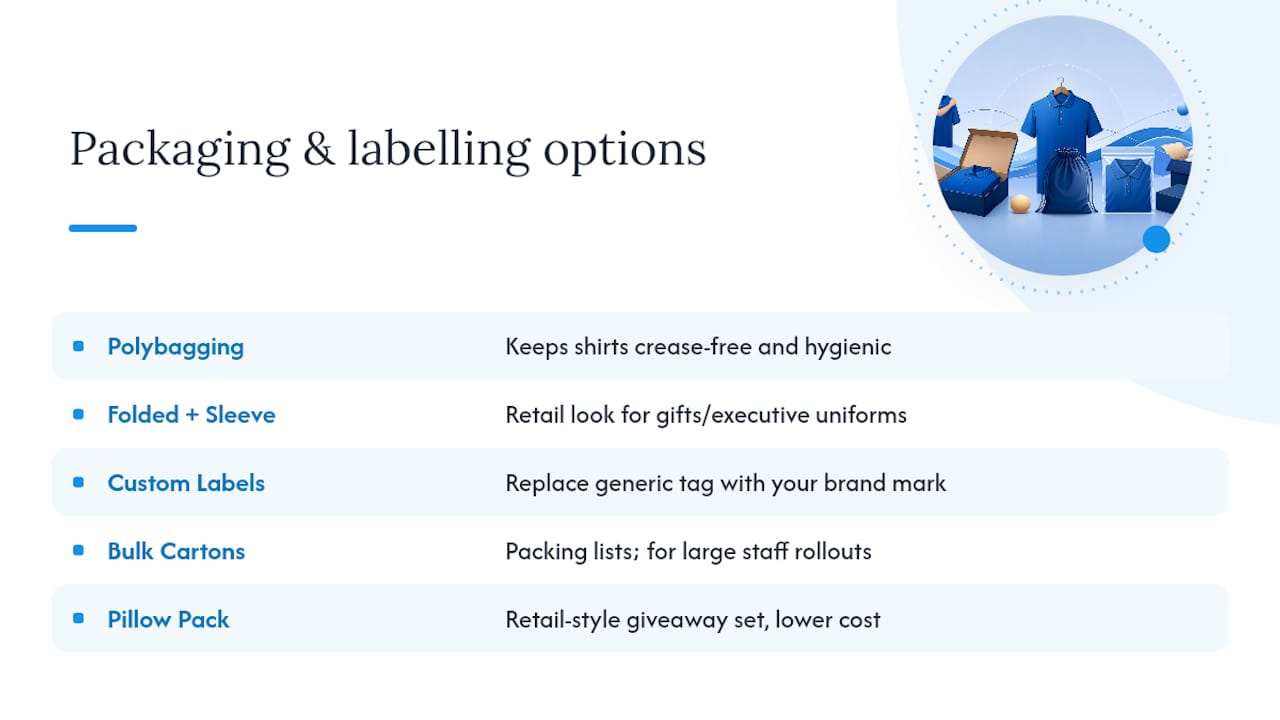
How your polos arrive matters more than most buyers expect, especially if they’re going straight to a client, a new starter, or an event stand. Individual polybagging keeps shirts crease-free and hygienic for uniform rollouts, while folded presentation with a card sleeve or belly band lifts the perceived value for client gifts or executive uniforms.
Custom neck labels or heat-seal tags let you replace a generic manufacturer label with your own brand mark, which matters if the shirt is meant to look like a retail product rather than a promotional item. Bulk cardboard cartons with packing lists are the standard for large staff rollouts where presentation matters less than getting the right sizes to the right desks.
For giveaways, a simple pack option like a pillow pack tee set gives you a retail-style presentation without the cost of individual folding and bagging on every unit. It’s worth specifying packaging requirements at the quoting stage, not after production, since some options add lead time.
What does polo shirt branding actually cost in total?
The quoted per-unit price rarely tells the whole story. Setup fees for embroidery digitising or screen creation are usually one-off costs, so they matter more on a 20-unit order than a 500-unit one, where they’re spread thin.
Freight is the other line item people forget to budget for. Bulk orders shipped as a single consignment are cheaper per unit than split deliveries to multiple offices, so consolidating your delivery address where possible saves money. Express production and express freight both carry a premium, and it’s worth asking early whether your timeline actually needs it or whether standard turnaround will do.
A realistic total budget should account for: the garment cost, the decoration method’s per-unit and setup cost, packaging if you’ve specified anything beyond a standard fold, and freight to your final destination. Getting a single all-in quote rather than piecing together separate line items is the easiest way to avoid a budget surprise partway through the order.
How long does the process take from artwork to delivery?
Once your artwork is approved, the clock starts on three stages: pre-production, decoration, and shipping. Pre-production covers digitising for embroidery or screen creation for printing, and this is where a clean, isolated vector file saves real time, since a messy raster file often bounces back for rework.
A physical or digital proof typically follows before bulk production begins. This is the point where sign-off matters most: approving a proof without checking colour, placement, and size against your brand guide is how small errors turn into a full reprint.
Decoration and finishing timelines depend on order size and method, with bulk embroidery generally taking longer than a small heat-transfer run. Standard shipping adds days on top, while express service compresses the whole pipeline at a cost premium. Building in a buffer between your internal deadline and the supplier’s quoted delivery date protects you if a proof revision or stock delay pushes things back a few days.
Publisher perspective: the mistakes that cost buyers money
Most branding disasters trace back to two things: unapproved artwork and skipped proofs. A pixelated logo blown up for embroidery, or a colour signed off from a screen rather than a physical sample, causes far more reorders than any decoration method itself. Some providers offer free artwork checks to catch this before production, and some have price beat guarantees to help maintain quality without cutting corners. If you’re unsure which method suits your logo, ask for a sample first.
— SEO
Get your branded polos moving with Promoshop
Some suppliers back orders with a free artwork check, helping ensure your logo file will embroider or print cleanly before committing to quantity. Express service options and price match guarantees may also be available to address common issues with branded apparel such as artwork errors and tight deadlines.
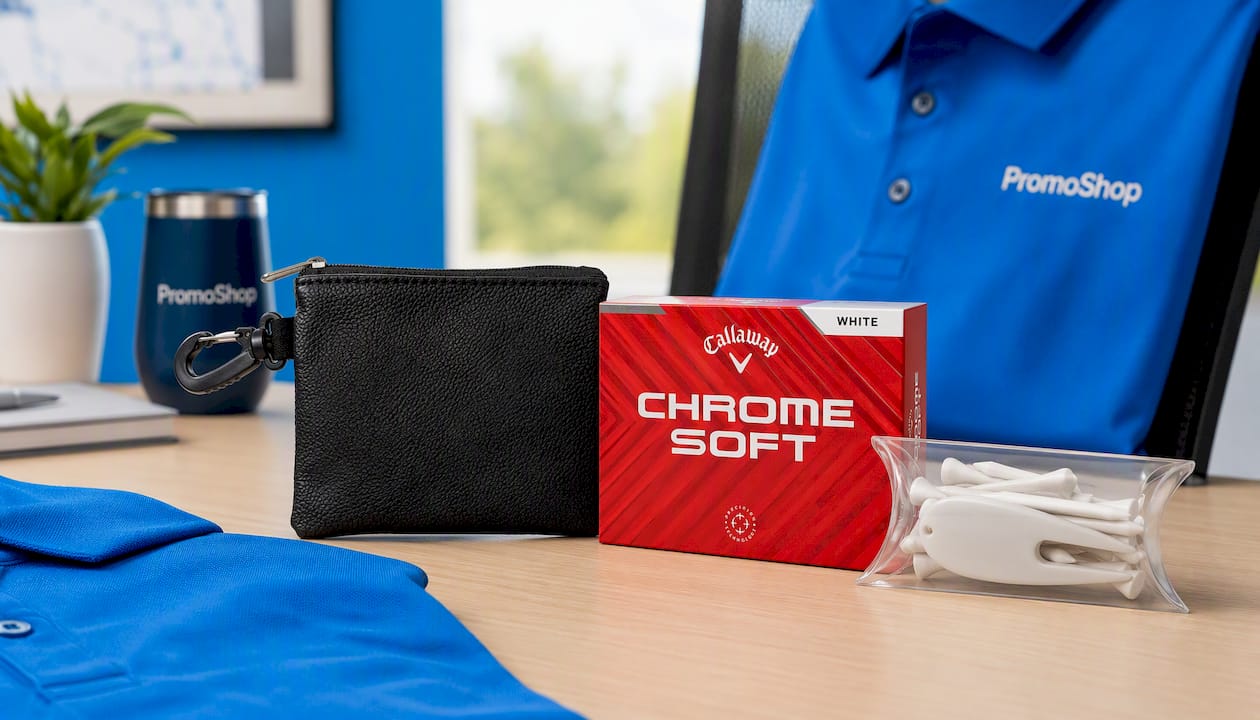
Getting started is straightforward: request a quote, upload your artwork for the free check, and ask for a sample if you’re deciding between fabric or decoration options. Promoshop’s catalogue runs well beyond polos too, from the Callaway Chrome Soft for golf-day giveaways to a premium leather valuables pouch for executive gifting and pillow pack tee sets for event merchandise. Browse the custom mens shirt range or head to Promoshop to start your quote today.
Where to check technical specs and decoration guidance
For deeper technical detail, Promoshop’s printing options page breaks down decoration processes, and the branding guide walks through artwork prep step by step.
Sources
FAQ
How do I get a logo on a polo shirt?
Send your logo as a vector file (or high-resolution image with a transparent background) to your supplier, choose embroidery or print based on your fabric and quantity, then approve a proof before bulk production starts. Promoshop’s free artwork check catches resolution or colour issues at this stage.
What makes a good logo for a polo shirt?
A good polo logo is simple, high-contrast, and legible at chest size, ideally under the common 4.5 inch by 4.5 inch guideline suppliers use for left-chest placement. Fine text or intricate gradients tend to lose detail once embroidered, so a cleaner mark almost always reproduces better.
Which supplier is best for logo polo shirts?
The right supplier depends on turnaround, quality control, and how they handle artwork issues before production. Promoshop offers a free artwork check, an express service option, and a price beat guarantee, which covers the three things that most affect a branded polo order: cost, speed, and getting the logo right the first time.
Where should a logo sit on a polo shirt?
Left chest is the standard placement for corporate branding, since it’s visible without competing with anything else on the garment. Right chest, sleeve, or full back placements suit secondary logos, event dates, or merchandise where the brand itself is the main design.
What decoration method lasts longest on a polo shirt?
Embroidery generally lasts longest, since the stitched thread resists cracking, peeling, and fading through repeated washing far better than printed inks. It’s why most long-term staff uniforms default to embroidery over screen printing or heat transfer.